To cater to each MSPs unique business needs, SyncMonkey now allows users to create their own custom data models so they can store information exactly how they need. The steps to create your own data model goes as followed:
1) On your top right profile icon, go to Company Settings -> Developer Space -> Customized Data
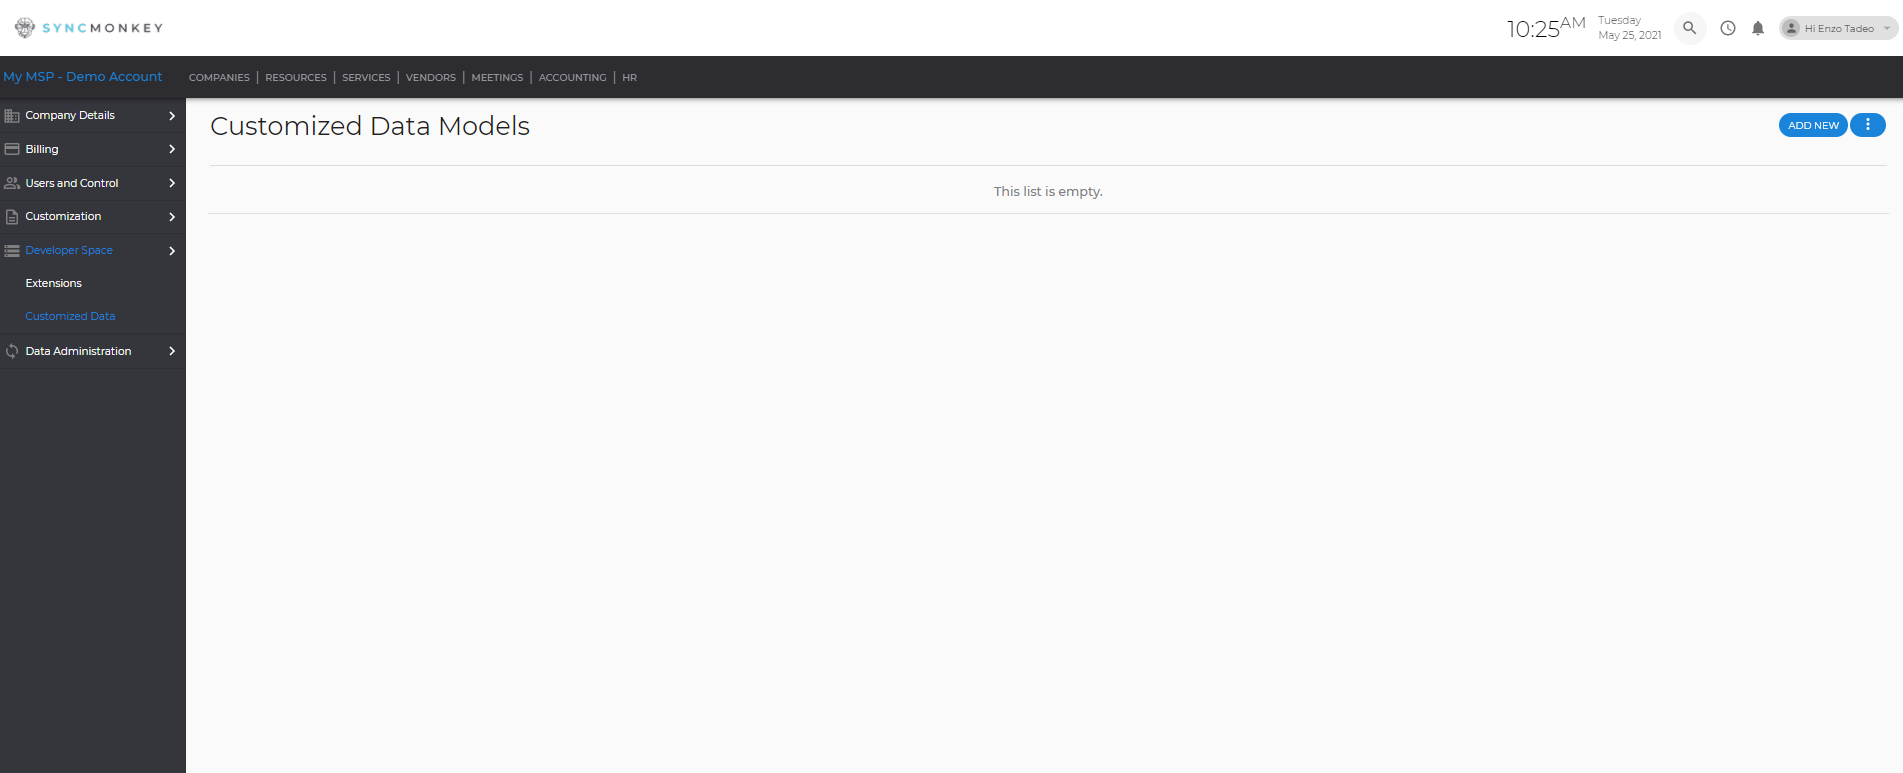
2) Click “Add New” and provide a model name
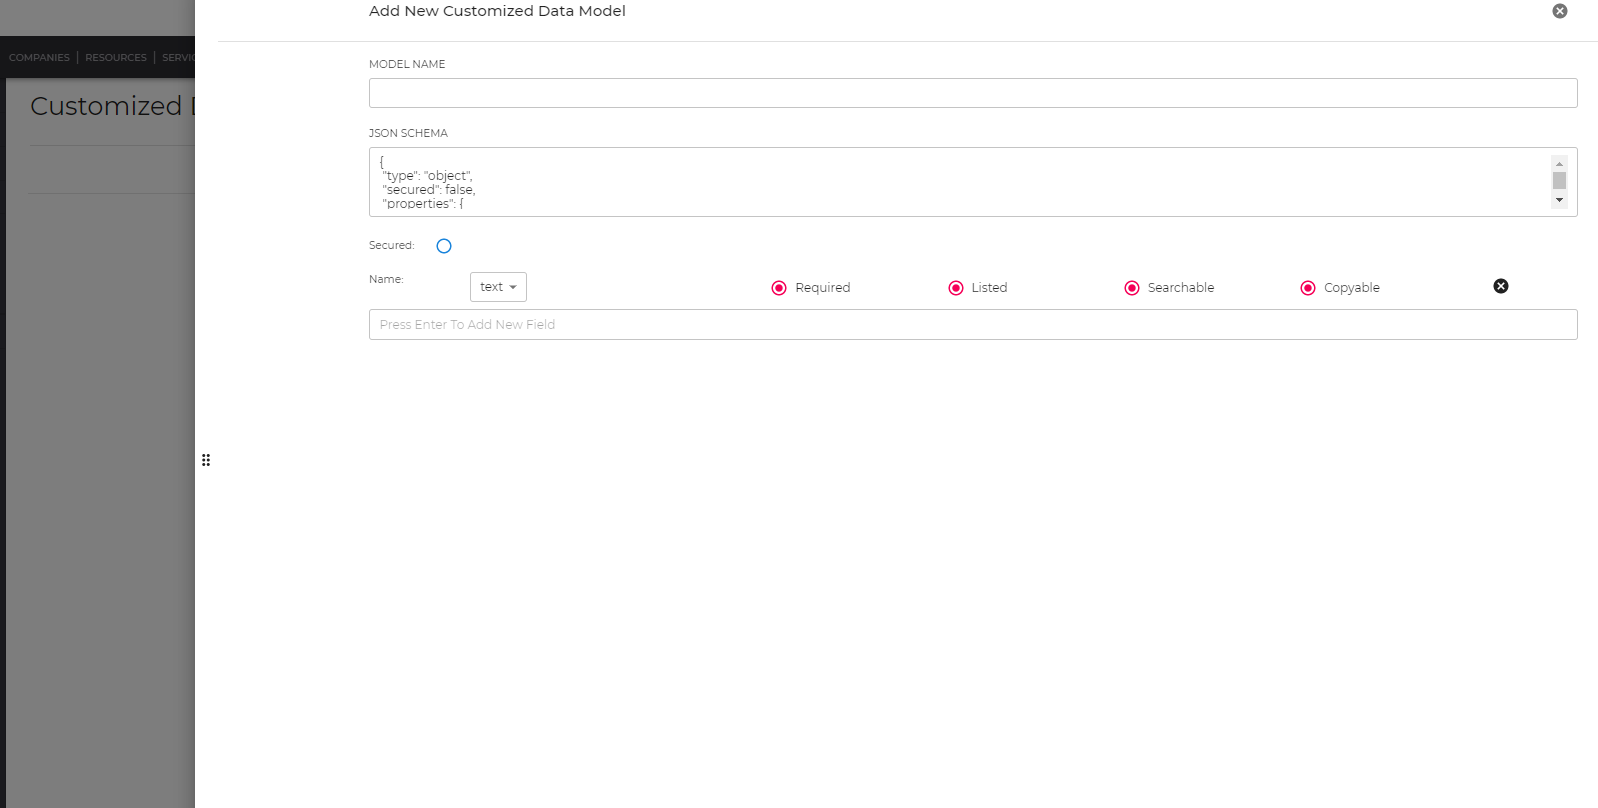
3) Start filling out the fields you want for this asset type
Once you have named the field, users can select what type of information can be filled out (text, number, etc.). Another option for filling out this field is by selecting a particular category type, such as any of your pre-named types of documents, credentials, employees, etc.
From there, users select how this information is stored with the following checkboxes:
- Required – this field is needed before saving this entry
- Listed – this field will be shown once the entry is saved
- Searchable – this field can be fetched by the search function
- Copyable – this field comes with an automatic copy button

4) Save your custom model
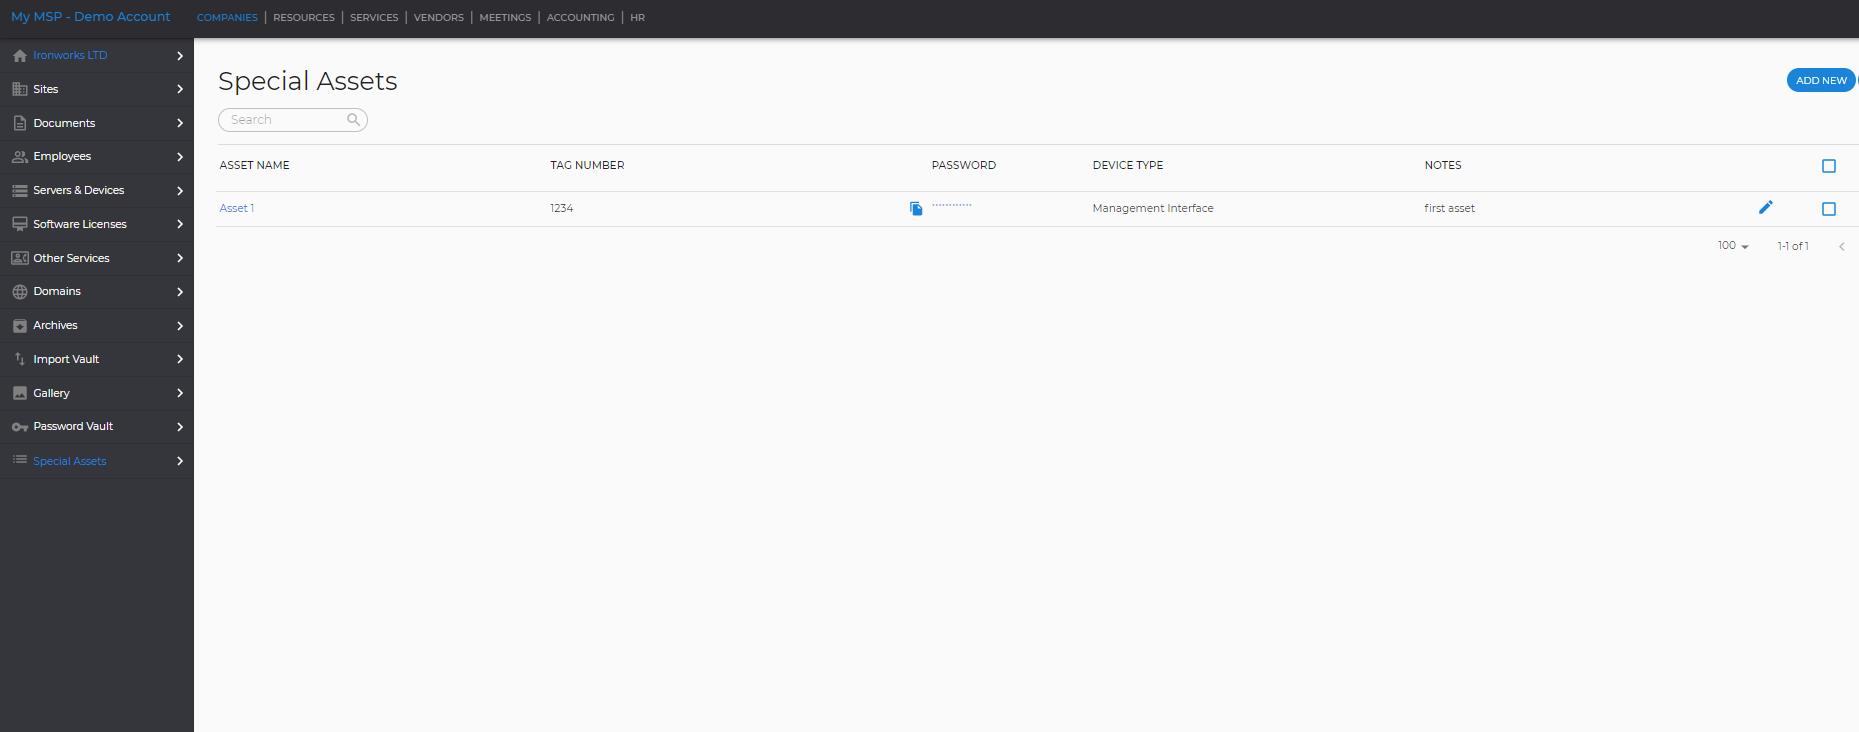
Users may have to refresh their page so that the new custom model will show up as a tab within a company profile. The final result should look something like this.